How to Register a Custom WordPress REST API Endpoint (register_rest_route Boilerplate)
Headless front ends, mobile apps, Gutenberg blocks, and admin dashboards all lean on the WordPress REST API. When your plugin needs custom data or actions beyond core endpoints, you register your own routes with register_rest_route().
That means choosing a namespace, defining the path, wiring HTTP methods, setting a permission callback, and writing handlers that return WP_REST_Response objects. This guide covers the pattern and how the REST API Generator in Zelvigo Dev Studio Pro scaffolds it for you.
How custom REST routes work in WordPress
A typical custom endpoint setup looks like this:
- Hook —
add_action( 'rest_api_init', 'your_register_callback' ); - Namespace — vendor/version format, e.g.
myplugin/v1 - Route — path segment like
itemsoritems/(?P<id>\d+) - Methods — GET, POST, PUT, PATCH, DELETE (one or more per route)
- Permission callback — who can call the endpoint
- Callback — receives
WP_REST_Request, returnsWP_REST_ResponseorWP_Error - Args (optional) — validated query/body parameters with types and required flags
WordPress exposes routes under /wp-json/{namespace}/{route}. Get the registration boilerplate right once and you can focus on the business logic inside each handler.
Common mistakes when coding REST routes by hand
- Registering outside
rest_api_initso routes never appear - Using
__return_truefor permissions on endpoints that should require login or a capability - Namespaces without a version segment — harder to evolve without breaking clients
- Skipping
argsvalidation and trusting raw request input - Returning plain arrays instead of
WP_REST_Responsewith proper status codes
A generator gives you consistent registration, permission presets, and per-method handler stubs so you replace placeholder logic instead of rewriting the same structure every time.
Generate REST routes with Zelvigo
In Zelvigo Dev Studio Pro, open REST API Generator → Create REST Route and configure:
- Namespace — e.g.
myplugin/v1 - Route — path without a leading slash; supports capture groups
- HTTP methods — GET, POST, PUT, PATCH, DELETE (select one or more)
- Permission callback — administrators, editors, logged-in users, or public
- Route arguments (optional) — one per line, e.g.
id:integer|required
Click Generate to get production-ready PHP: rest_api_init registration, register_rest_route() with your methods and args, permission callbacks, and separate handler functions per method returning WP_REST_Response. Copy the code into your plugin or include it in a Plugin Boilerplate ZIP.
Walkthrough: documentation.
Pair REST routes with other generators
Custom endpoints often sit alongside other Zelvigo Pro modules:
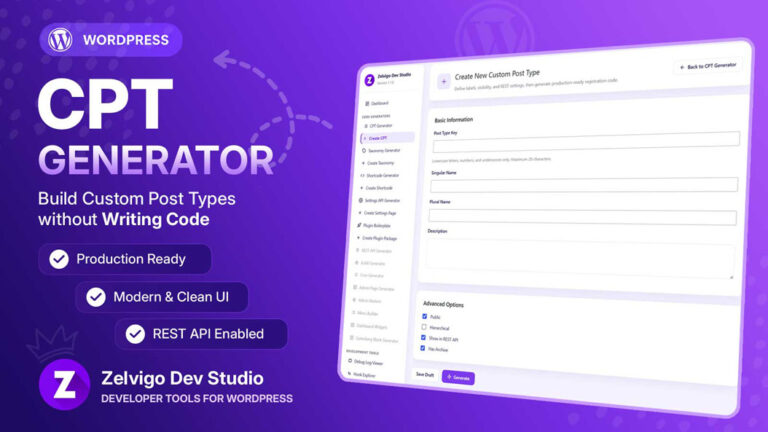
- CPT Generator — expose custom post types via your own read/write endpoints
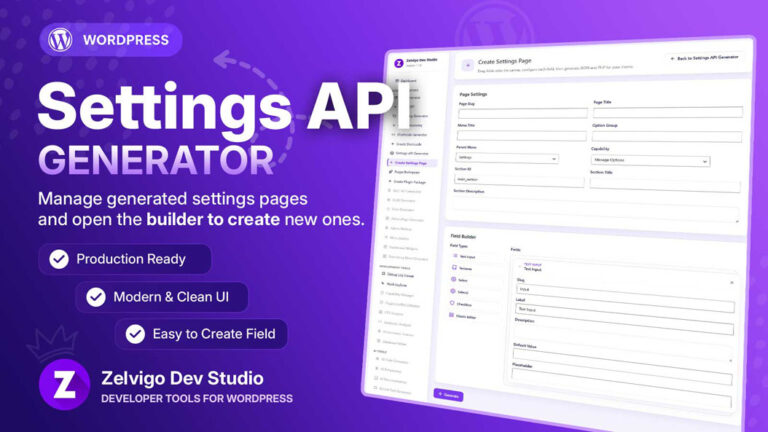
- Settings API — store options in admin; REST routes serve or update them for apps
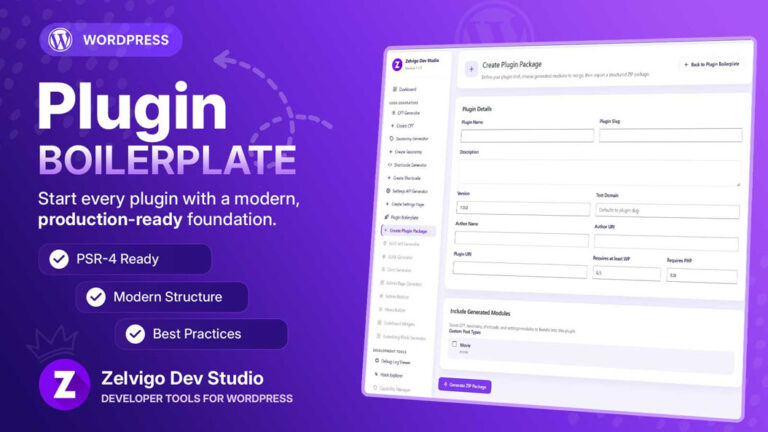
- Plugin Boilerplate — export REST routes with CPTs, cron jobs, and admin UI in one ZIP
That stack covers a common plugin shape: data model, admin settings, and a JSON API for the front end — without hand-rolling registration code on every project.
Next step
Learn the register_rest_route pattern once. Use a generator so every new endpoint starts with correct namespaces, permissions, and handler stubs in minutes.