How to Create a Custom Post Type in WordPress
Custom post types (CPTs) are how WordPress stores content that is not a normal post or page — movies, events, products, portfolios, documentation, and more. If you build plugins for clients or products, you will create CPTs constantly.
This guide explains what a CPT needs, the common mistakes that waste time, and a faster way to generate production-ready registration code with Zelvigo’s CPT Generator.
What is a custom post type?
A custom post type is a content type registered with register_post_type(). Once registered, WordPress gives you an admin menu, edit screens, and (optionally) front-end archives and REST API access — the same building blocks posts and pages use, but under your own key (for example movie or event).
What you must get right every time
- Post type key — lowercase, max 20 characters; avoid reserved keys and prefixes like
wp_ - Labels — singular and plural names for menus and UI
- Public — whether it appears in admin and on the front end
- Hierarchical — page-like (parent/child) vs post-like
- Show in REST API — needed for the block editor and many headless setups
- Has archive — whether WordPress creates an archive URL
Most of this is boilerplate. The business logic of your plugin comes later — but you still have to write the registration correctly on every project.
The slow way: copy, rename, hope
Typical workflow: open an old plugin, copy register_post_type, rename labels, forget one argument, then debug why the archive 404s or the block editor won’t load the type.
That approach works — until you’ve done it fifty times and realize half your projects have slightly different, inconsistent CPT setups.
The faster way: generate, then customize
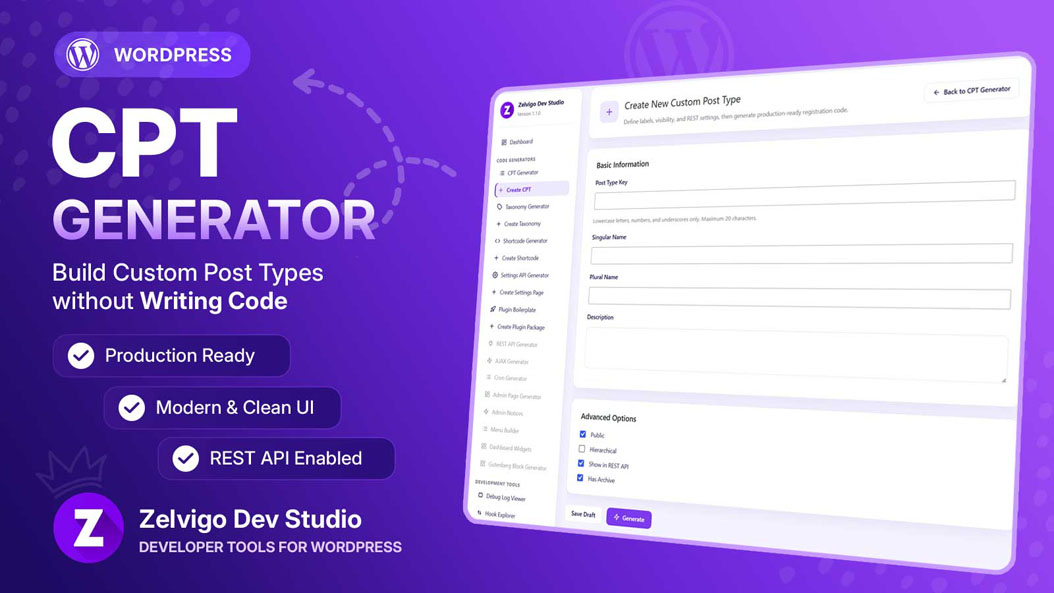
With Zelvigo Dev Studio’s CPT Generator, you fill a short form and get standards-oriented PHP:
- Open Zelvigo Dev Studio → Create CPT
- Enter post type key, singular/plural names, and options
- Click Generate
- Copy the PHP into your plugin — or include it in a Plugin Boilerplate ZIP with taxonomies and settings
Important: generating a CPT in Zelvigo does not auto-register it on your site. The definition is stored so you can copy or export it. Registration only happens when you paste the code into a plugin you control or install the exported ZIP. That keeps staging safe.
See the full walkthrough in the documentation.
Pair CPTs with taxonomies
Most real plugins need more than a post type. After you generate a CPT, use the Taxonomy Generator to attach genres, types, or categories — then package everything with the Plugin Boilerplate.
FAQ
Do I still need to know register_post_type()?
Yes. Generators save time; they don’t replace understanding WordPress. You should still know what each argument does so you can customize safely.
Can I use the generated code in a commercial plugin?
Yes — you export code into your own plugin. Treat it like any other code you own and maintain.
What are the requirements?
WordPress 6.5+, PHP 8.0+, and a Pro license for cloud generators. Details are on the pricing page.
Next step
If you create CPTs regularly, stop reinventing the registration args. Generate clean PHP once, copy it into your plugin, and move on to the features that make your product unique.